Create Your First Project
Welcome to Hagicode! After installation, let’s create your first project. This guide will walk you through the setup step by step, from preparing the code repository to initializing OpenSpec, just like a friend teaching you hand by hand.
Prerequisites
Section titled “Prerequisites”Before creating your first project, make sure you have:
- A code repository you want to manage with Hagicode
- Git installed and configured
- Basic understanding of command line operations
Don’t worry, these are all simple!
Step 1: Prepare Your Code Repository
Section titled “Step 1: Prepare Your Code Repository”Before adding a project to Hagicode, you need to prepare a code repository that you want to manage with Hagicode.
Clone Your Code Repository
Section titled “Clone Your Code Repository”If the code you want to manage is already in a remote repository (GitHub, GitLab, etc.), clone it locally:
# Clone your code repository locallygit clone https://github.com/your-username/your-repo.gitcd your-repoAfter cloning, note down the repository’s local path (e.g., C:\Users\YourName\Projects\your-repo or /home/yourname/projects/your-repo), you will need this path in the next step.
If Your Code is Only Local
Section titled “If Your Code is Only Local”If the code you want to manage is still local and hasn’t been pushed to a remote repository:
cd /path/to/your/projectgit initgit add .git commit -m "Initial commit"It is recommended to create a remote repository on GitHub/GitLab and push:
git remote add origin https://github.com/your-username/your-repo.gitgit push -u origin mainStep 2: Add Project in Hagicode Interface
Section titled “Step 2: Add Project in Hagicode Interface”Now let’s add the project to the Hagicode interface.
Access Project Page
Section titled “Access Project Page”- Navigate to
http://127.0.0.1:34567in your browser - Click Projects in the navigation sidebar
- Click the Add Project button

Configure Project Settings
Section titled “Configure Project Settings”Fill in project information:
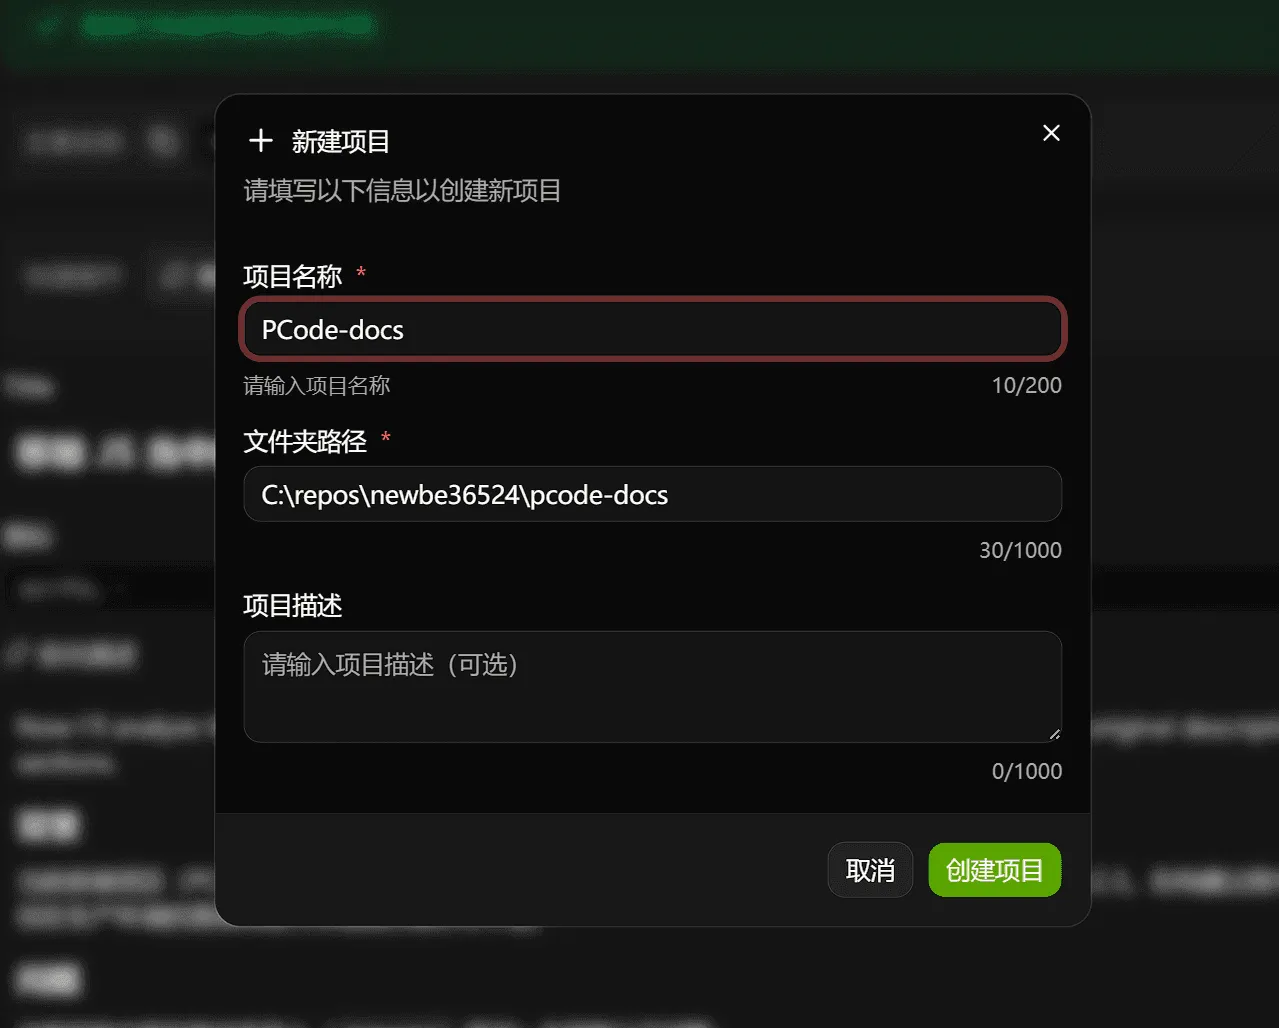
Create Project
Section titled “Create Project”After filling in the required information:
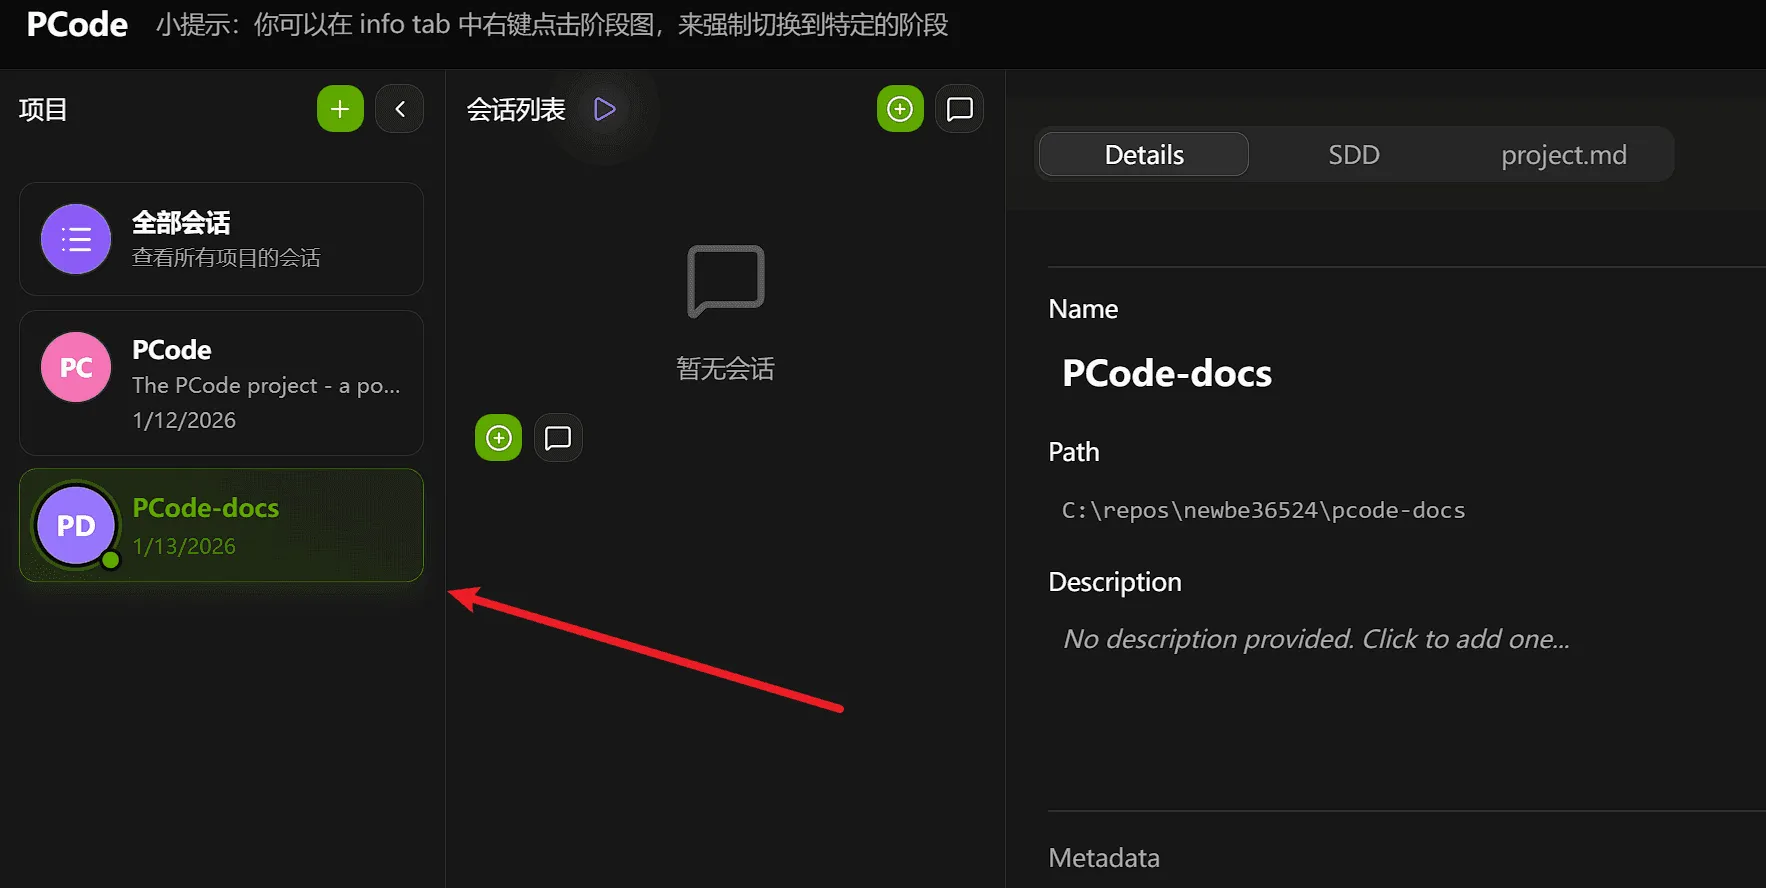
- Click the Create Project button to add the project
- Hagicode will verify the repository path
- Your project will appear in the project list
Step 3: Initialize SDD
Section titled “Step 3: Initialize SDD”SDD (Software Design Document) is an important component in Hagicode for managing project design and changes. Initializing SDD in a project creates the necessary structure for managing changes.
Run SDD Initialization
Section titled “Run SDD Initialization”In the project overview, find the SDD section:
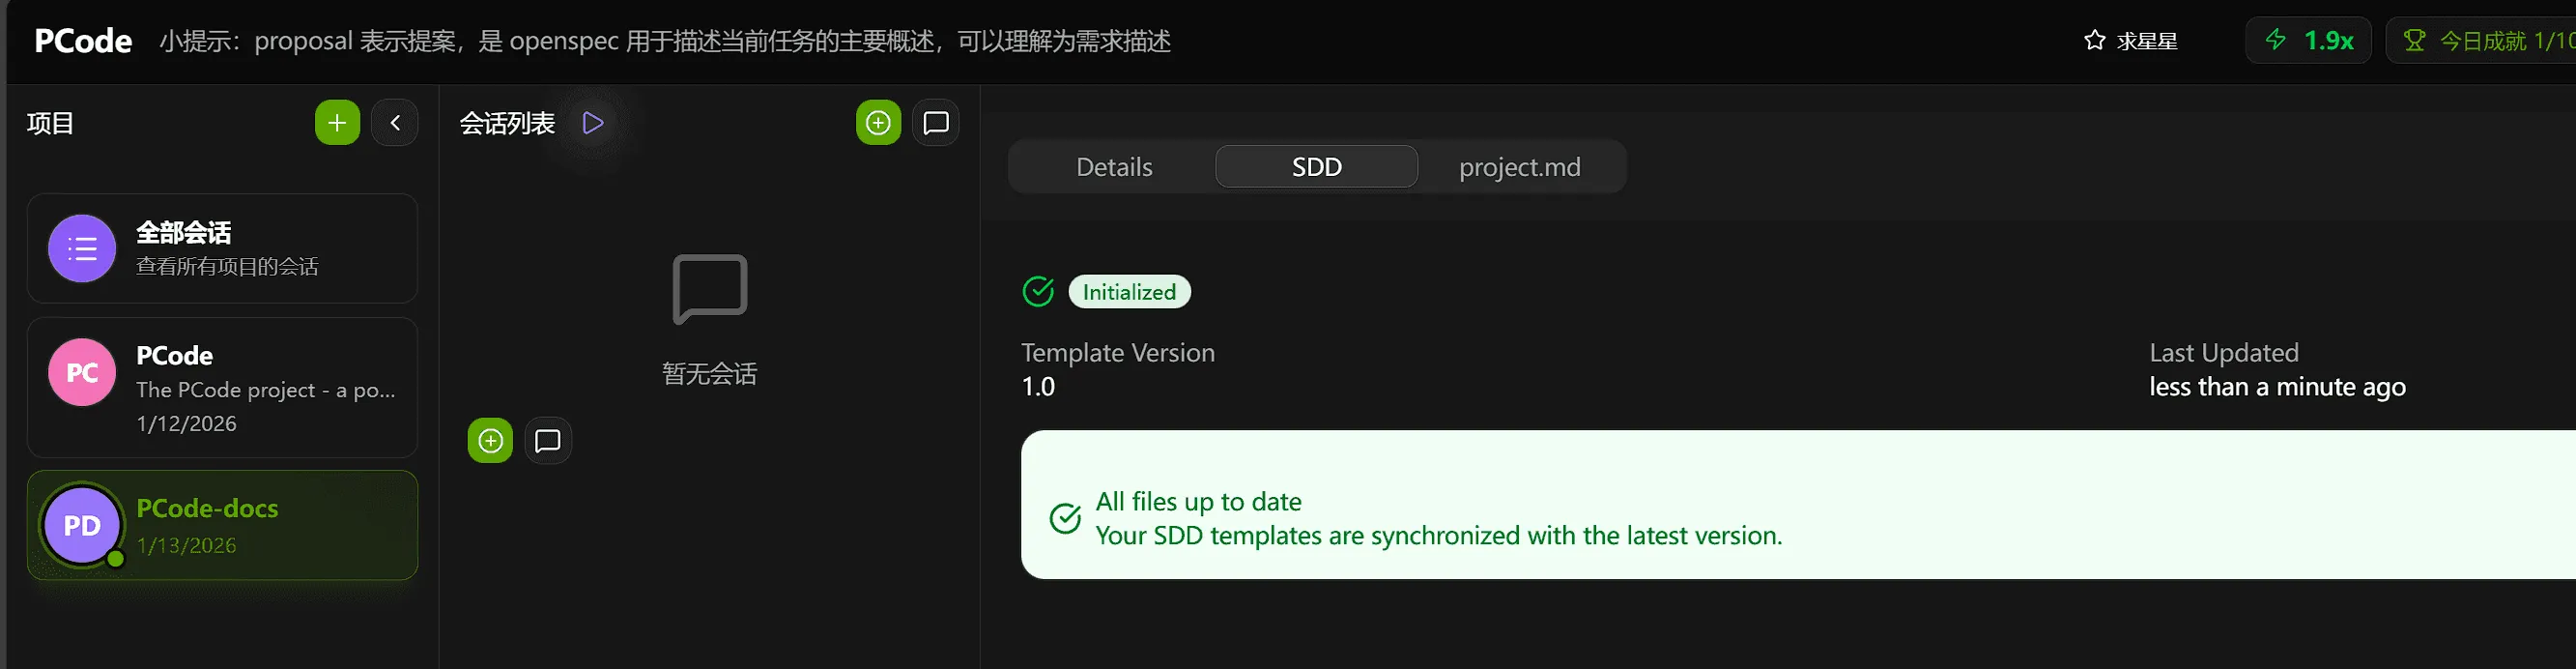
- Click the project’s SDD tab
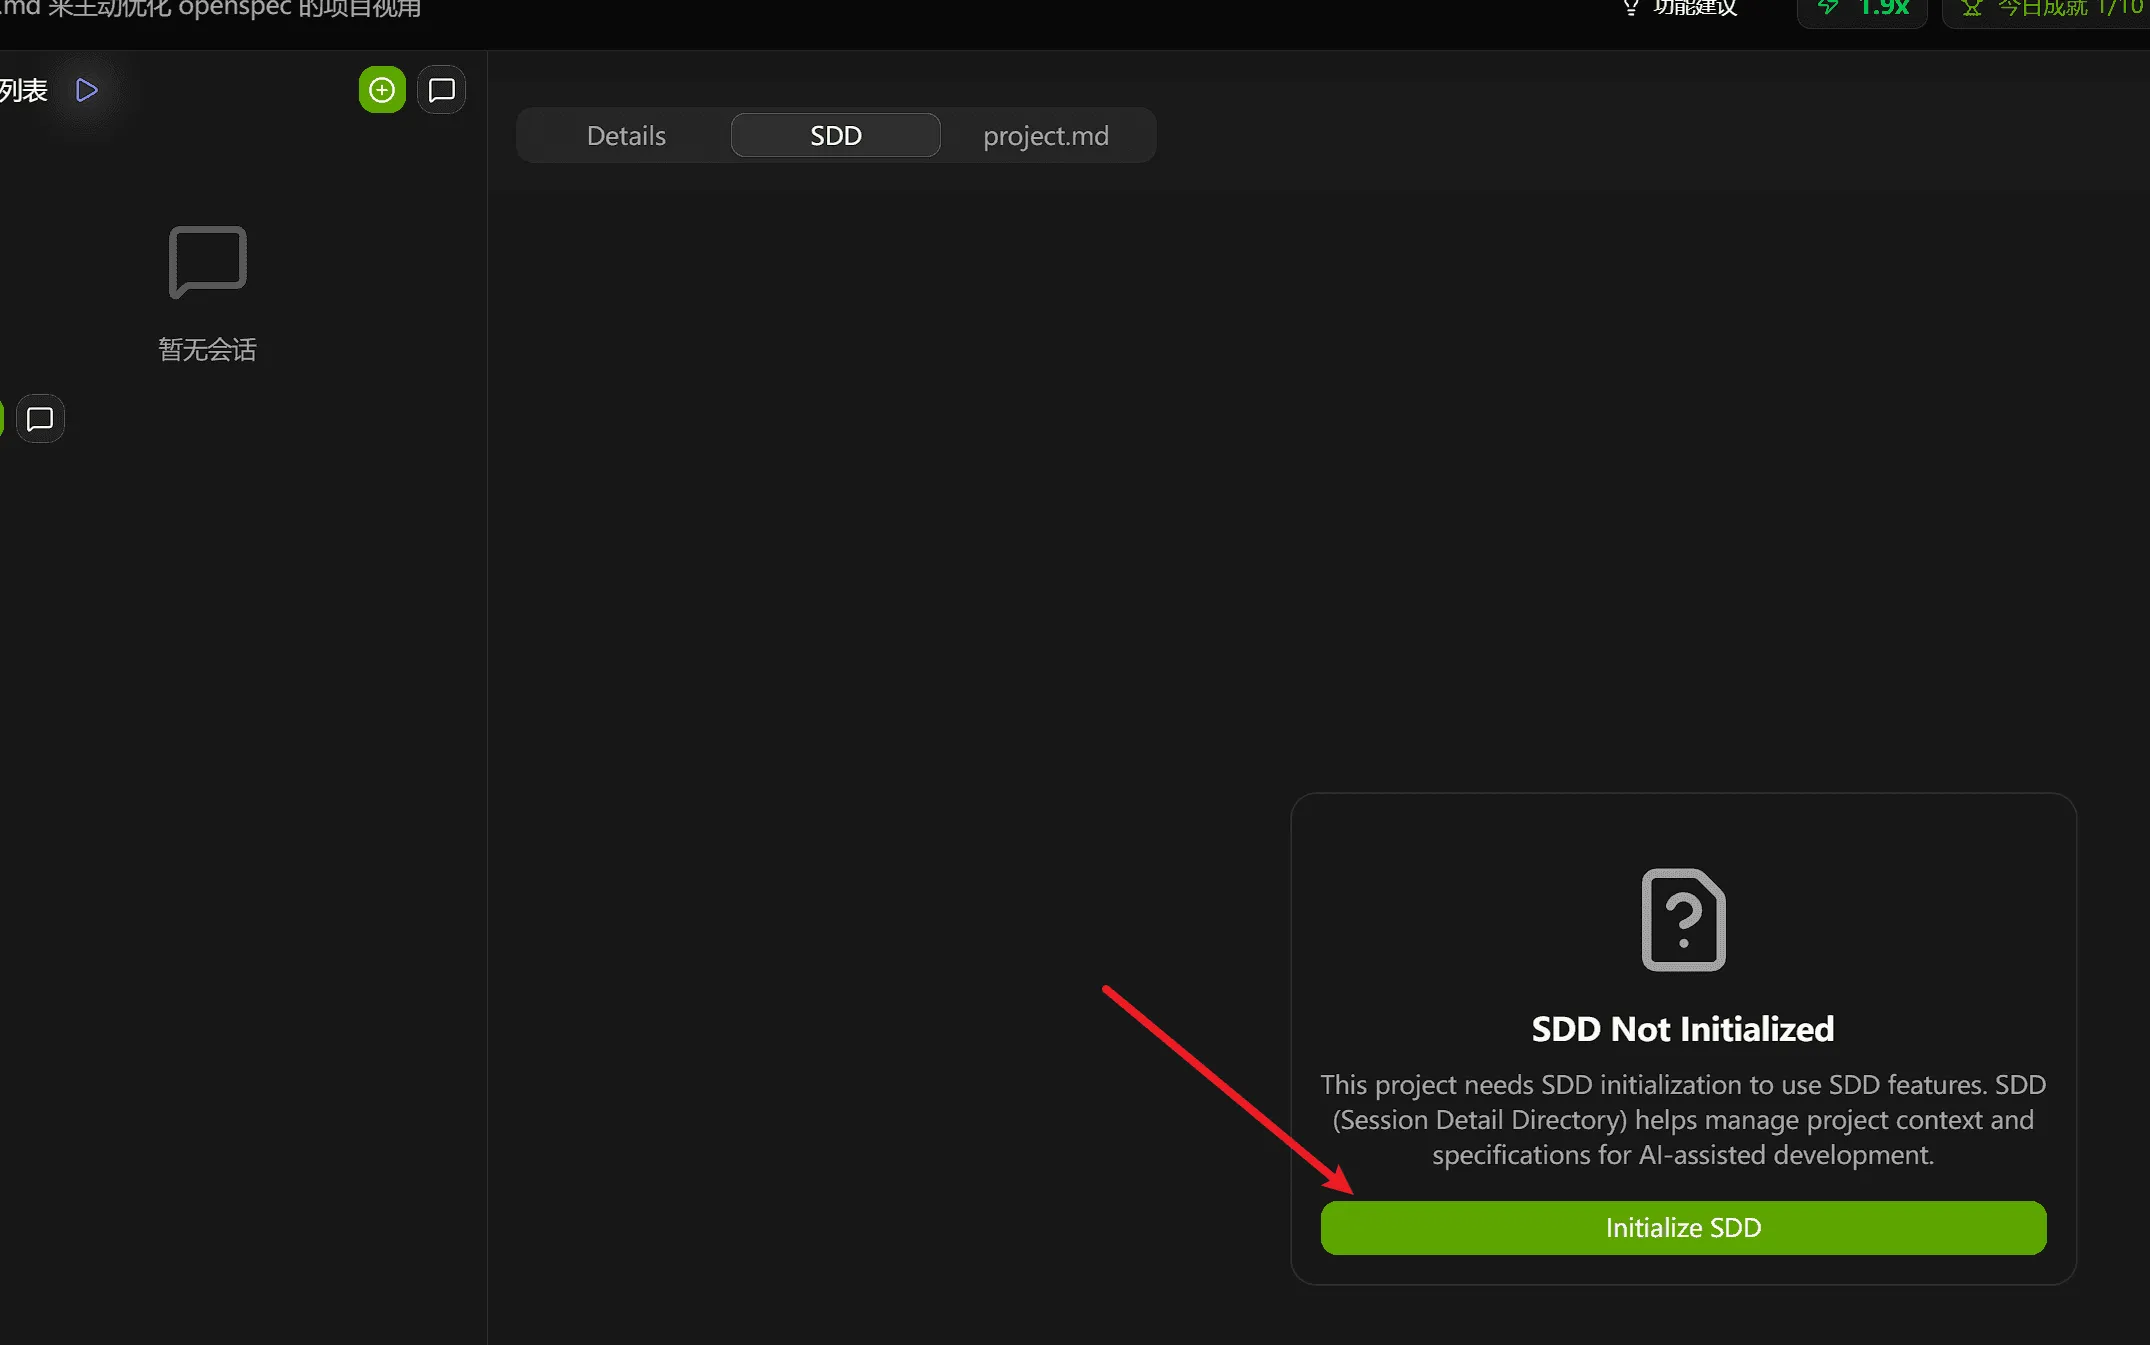
- Click the Initialize SDD button
Step 4: Optimize project.md
Section titled “Step 4: Optimize project.md”Hagicode will automatically optimize the project.md file for you, adding detailed project information and prompt configuration.
Run Optimization
Section titled “Run Optimization”- On the project details page, click the Optimize button in the upper right corner

- Hagicode will automatically analyze your code repository and generate optimized project.md content
Step 5: Commit to Version Control
Section titled “Step 5: Commit to Version Control”After completing SDD initialization and project.md optimization, you need to commit these important configuration files to your version control system.
Commit All Changes
Section titled “Commit All Changes”Commit all generated files and optimized configuration to your repository:
cd /path/to/your/projectgit add .git commit -m "Initialize SDD and optimize project.md"Next Steps
Section titled “Next Steps”Congratulations! You have created your first project in Hagicode. Here are some recommended next steps:
- Conversation Session - Learn how to use AI-driven coding sessions
- Proposal Session - Deep dive into managing proposals