How to Implement Automatic Retry for Agent CLIs Like Claude Code and Codex
How to Implement Automatic Retry for Agent CLIs Like Claude Code and Codex
Section titled “How to Implement Automatic Retry for Agent CLIs Like Claude Code and Codex”The phrase automatic retry looks like a small toggle switch, but once you put it into a real engineering environment, it is nothing like that. Hello everyone, I am HagiCode creator Yu Kun. Today, I do not want to trade in empty talk. I want to talk about how automatic retry for Agent CLIs such as Claude Code and Codex should actually be done, so it can both recover from exceptions and avoid dragging the system into endless repeated execution.
Background
Section titled “Background”If you have also been working on AI coding lately, you have probably already run into this kind of problem: the task does not fail immediately, but breaks halfway through execution.
In an ordinary HTTP request, that often just means sending it again, maybe with some exponential backoff. But Agent CLIs are different. Tools like Claude Code and Codex usually execute in a streaming manner, pushing output out chunk by chunk. During that process, they may also bind to a thread, session, or resume token. In other words, the question is not simply, “Did this request fail or not?” It becomes:
- Does the content that was already emitted still count?
- Can the current context continue running?
- Should this failure be recovered automatically?
- If it should be recovered, how long should we wait before retrying, what should we send during the retry, and should we still reuse the original context?
The first time many teams build this part, they instinctively write the most naive version: if an error occurs, try once more. That idea is perfectly natural, but once it reaches a real project, one problem after another starts surfacing.
- Some errors are clearly temporary failures, yet get treated as final failures
- Some errors are not worth retrying at all, yet the system replays them over and over
- Requests with a thread and requests without a thread get treated exactly the same
- The backoff strategy has no boundary, and background requests overload themselves
While integrating multiple Agent CLIs, HagiCode also stepped into these traps. On the Codex side in particular, the first issue we exposed was that a certain type of reconnect message was not recognized as a retryable terminal state, so the recovery mechanism we already had never got a chance to take effect. To put it plainly, it was not that the system lacked automatic retry. The system simply failed to recognize that this particular failure was worth retrying.
So the core point of this article is very clear: automatic retry is not a button, but a layered design.
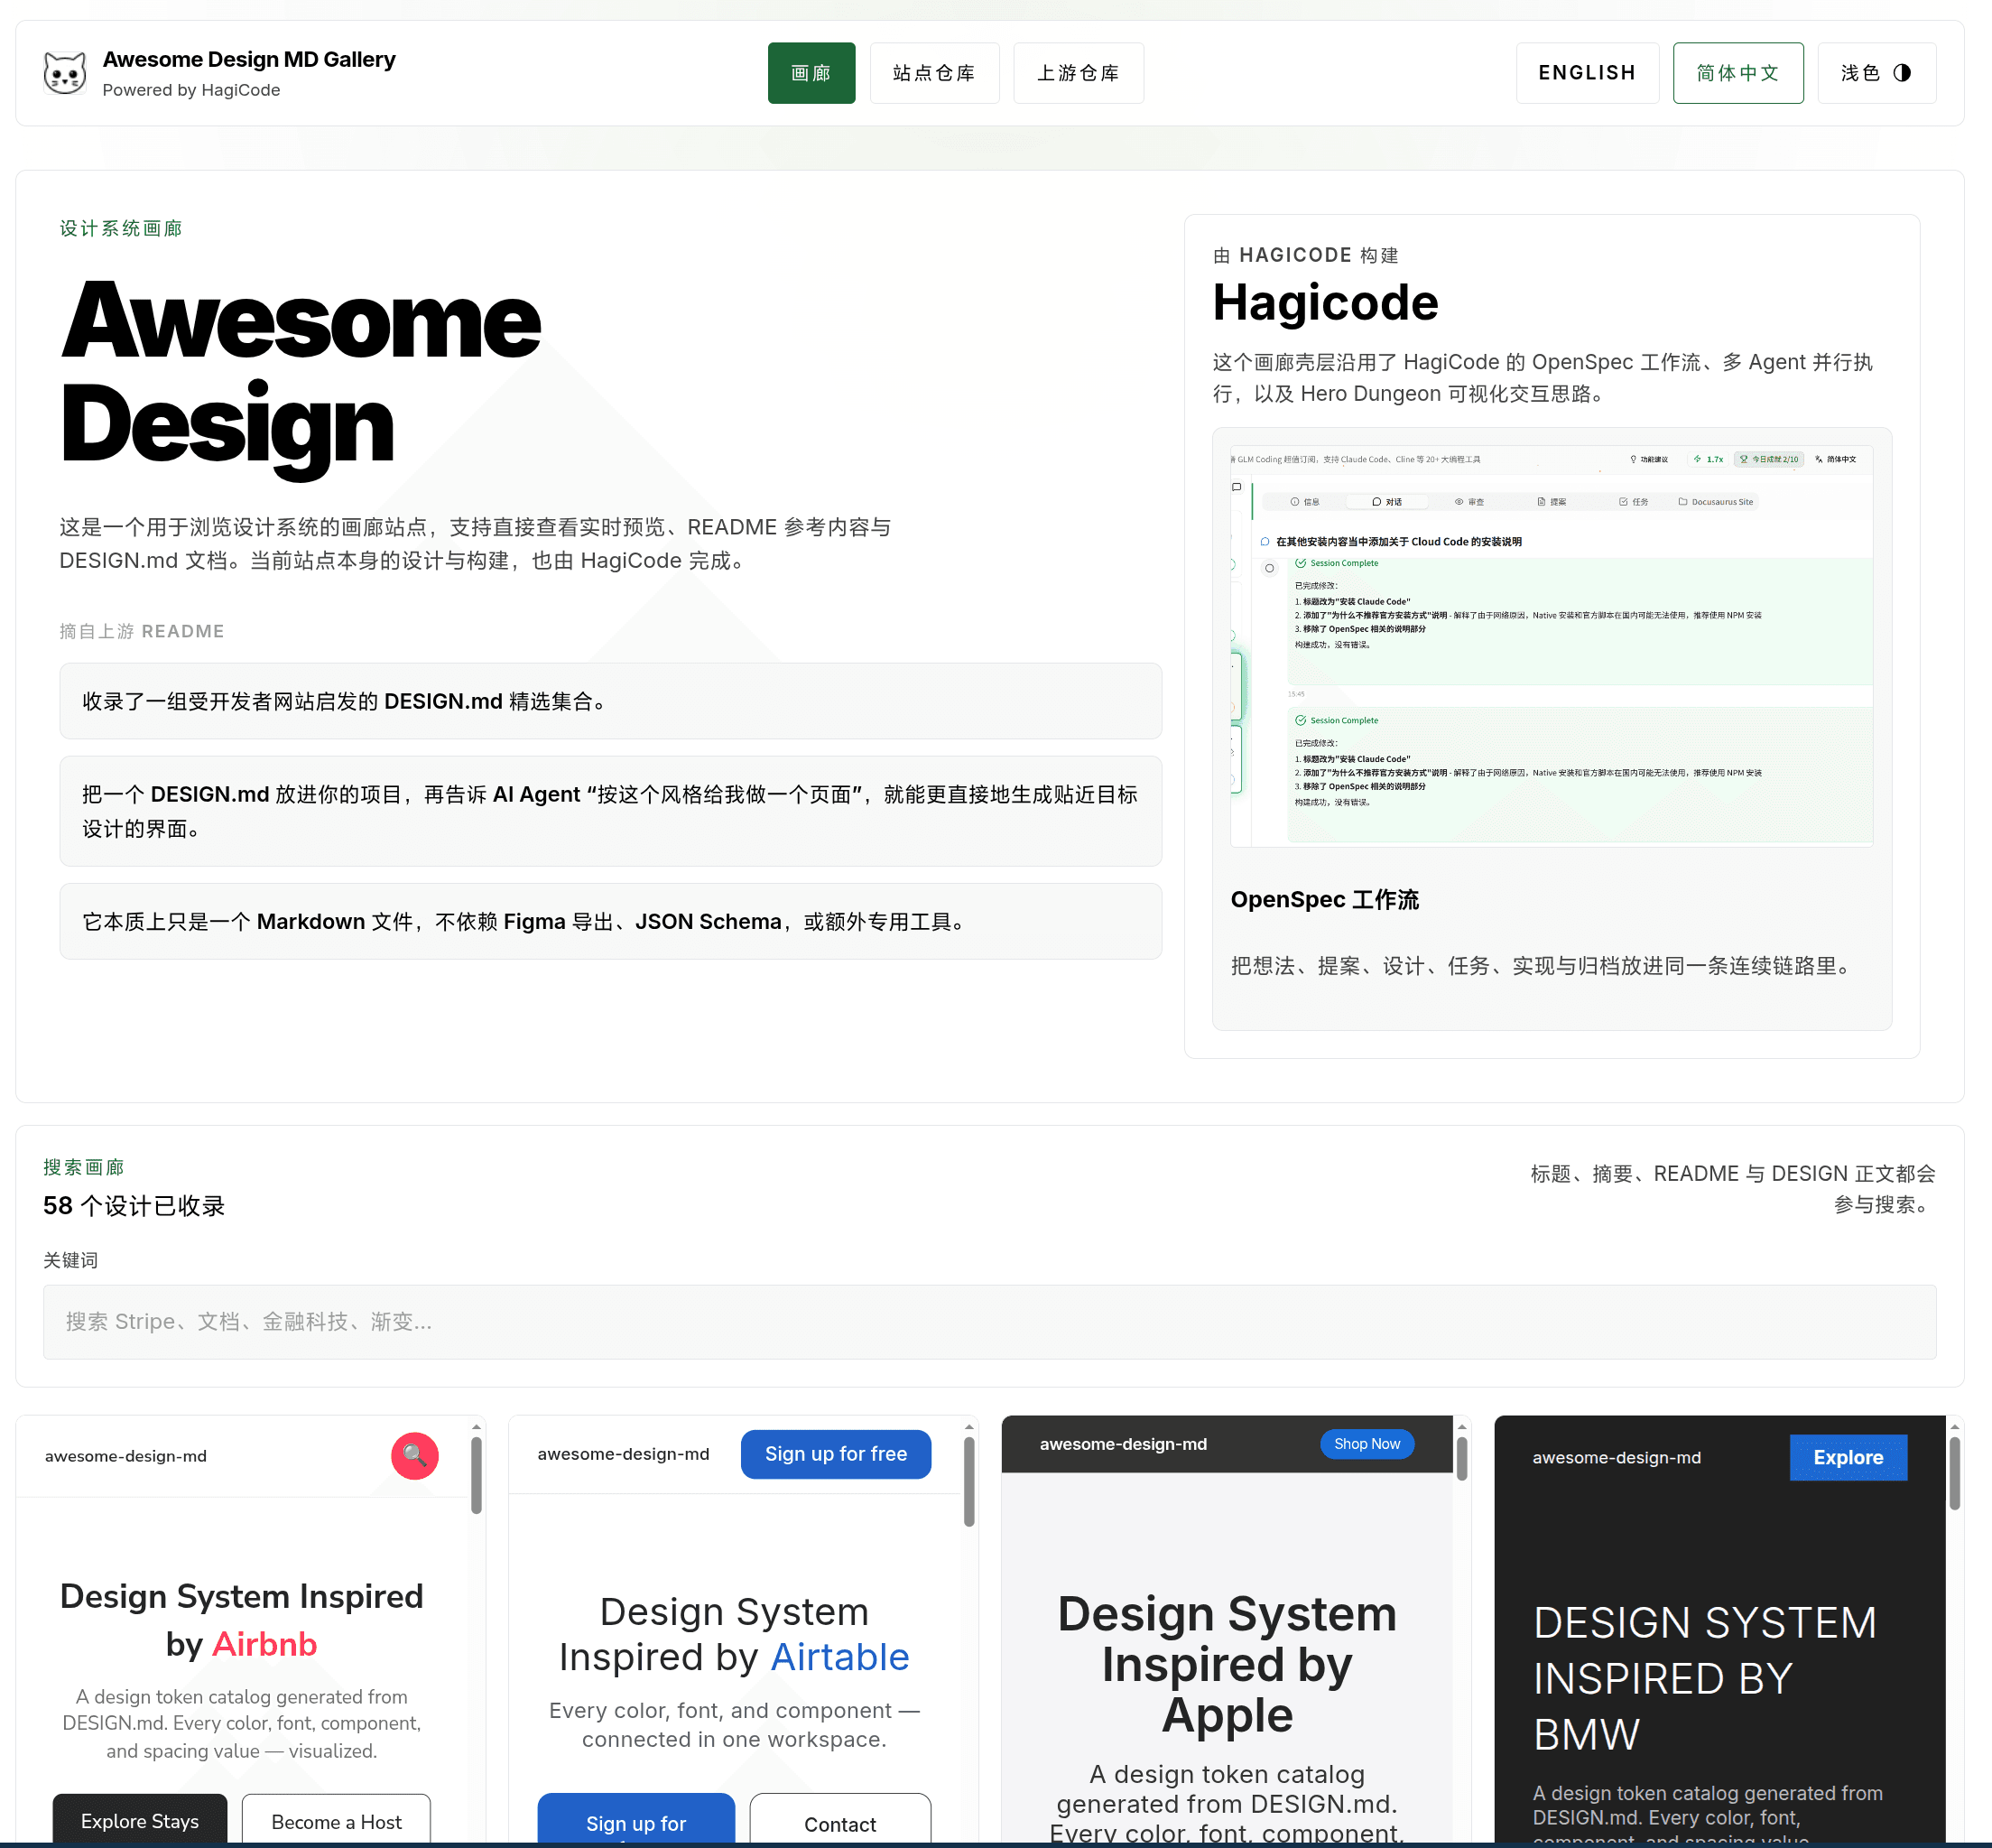
About HagiCode
Section titled “About HagiCode”The approach shared in this article comes from real practice in our HagiCode project. What HagiCode is trying to do is not just connect one model and call it a day. It is about unifying the streaming messages, tool calls, failure recovery, and session context of multiple Agent CLIs into one execution model that can be maintained over the long term.
One of the things I care about most is how to make AI coding truly land in real engineering work. Writing a demo is not hard. The hard part is turning that demo into something a team is genuinely willing to use for a long time. HagiCode takes automatic retry seriously not because the feature looks sophisticated, but because if long-running, streaming, resumable CLI execution is not stable, what users see is not an intelligent assistant, but a command wrapper that drops the connection halfway through every other run.
If you want to look at the project entry points first, here are two:
- GitHub: github.com/HagiCode-org/site
- Official website: hagicode.com
Taking it one step further, HagiCode is also on Steam now. If you use Steam, feel free to add it to your wishlist first:
Why Automatic Retry for Agent CLIs Is Harder Than Ordinary Retry
Section titled “Why Automatic Retry for Agent CLIs Is Harder Than Ordinary Retry”This is a very practical question, so let us go straight to the conclusion: the difficulty of automatic retry for Agent CLIs is not “try again after a few seconds,” but “can it still continue in the original context?”
You can think of it as a long conversation. Ordinary API retry is more like redialing when the phone line is busy. Agent CLI retry is more like the signal dropping while the other party is halfway through a sentence, and then you have to decide whether to call back, whether to start over when you do, and whether the other party still remembers where the conversation stopped. These are not the same kind of engineering problem at all.
More concretely, there are four especially typical difficulties.
1. It is streaming
Section titled “1. It is streaming”Once output has already been sent to the user, you can no longer handle failure the way you would with an ordinary request, where you silently swallow it and quietly try again. That is because the earlier content has already been seen. If the replay strategy is wrong, the frontend can easily show duplicated text and inconsistent state, and the lifecycle of tool calls can become tangled as well. This is not metaphysics. It is engineering.
2. It usually binds to session context
Section titled “2. It usually binds to session context”Providers like Codex bind to a thread, and implementations like Claude Code also have a continuation target or an equivalent resumable context. The real prerequisite for automatic retry is not just that the error looks like a temporary failure, but also that there is still a carrier that allows this execution to continue.
3. Not every error is worth retrying
Section titled “3. Not every error is worth retrying”Network jitter, SSE idle timeout, and temporary upstream failures are usually worth another try. But if what you are facing is authentication failure, lost context, or a provider that has no resume capability at all, then retrying is usually not recovery. It is noise generation.
4. It needs boundaries
Section titled “4. It needs boundaries”Unlimited automatic retry is almost always wrong. Technology trends can be noisy for a while, but engineering laws often remain stable for many years. One of them is that failure recovery must have boundaries. The system has to know how many times it can retry at most, how long it should wait each time, and when it should stop and admit that this one is really not going to recover.
Because of these characteristics, HagiCode ultimately did not implement automatic retry as a few lines of try/catch inside a specific provider. Instead, we extracted it into a shared capability layer. In the end, engineering problems still need to be solved with engineering methods.
HagiCode’s Approach: Pull Retry Out of the Provider
Section titled “HagiCode’s Approach: Pull Retry Out of the Provider”HagiCode’s current real-world implementation can be compressed into one sentence:
The shared layer manages the retry flow uniformly, and each concrete provider is only responsible for answering two questions: is this terminal state worth retrying, and can the current context still continue?
This is not complicated, but it is critical. Once responsibilities are separated this way, Claude Code, Codex, and even other Agent CLIs can all reuse the same skeleton. Models will change, tools will evolve, workflows will be upgraded, but the engineering foundation remains there.
Layer 1: Use a unified coordinator to manage the retry loop
Section titled “Layer 1: Use a unified coordinator to manage the retry loop”The core implementation fragment in the project looks roughly like this:
internal static class ProviderErrorAutoRetryCoordinator{    public static async IAsyncEnumerable<CliMessage> ExecuteAsync(        string prompt,        ProviderErrorAutoRetrySettings? settings,        Func<string, IAsyncEnumerable<CliMessage>> executeAttemptAsync,        Func<bool> canRetryInSameContext,        Func<TimeSpan, CancellationToken, Task> delayAsync,        Func<CliMessage, bool> isRetryableTerminalMessage,        [EnumeratorCancellation] CancellationToken cancellationToken)    {        var normalizedSettings = ProviderErrorAutoRetrySettings.Normalize(settings);        var retrySchedule = normalizedSettings.Enabled            ? normalizedSettings.GetRetrySchedule()            : [];
        for (var attempt = 0; ; attempt++)        {            var attemptPrompt = attempt == 0                ? prompt                : ProviderErrorAutoRetrySettings.ContinuationPrompt;
            CliMessage? terminalFailure = null;
            await foreach (var message in executeAttemptAsync(attemptPrompt)                               .WithCancellation(cancellationToken))            {                if (isRetryableTerminalMessage(message))                {                    terminalFailure = message;                    break;                }
                yield return message;            }
            if (terminalFailure is null)            {                yield break;            }
            if (attempt >= retrySchedule.Count || !canRetryInSameContext())            {                yield return terminalFailure;                yield break;            }
            await delayAsync(retrySchedule[attempt], cancellationToken);        }    }}
What this code does is actually very straightforward, but also very effective.
- Do not pass intermediate failures through directly at first; the coordinator decides whether recovery is still possible
- Only when the retry budget is exhausted does the final failure actually return to the upper layer
- Starting from the second attempt, the original prompt is no longer sent; a continuation prompt is sent uniformly instead
That is why I kept stressing earlier that automatic retry is not simply “make the request again.” It is not just patching an exception branch. It is managing the life cycle of an execution. That may sound like product-manager language, but in engineering terms, that is exactly what it is.
Layer 2: Snapshot the retry policy
Section titled “Layer 2: Snapshot the retry policy”Another issue that is very easy to overlook is this: who decides whether automatic retry is enabled for this request?
HagiCode’s answer is not to depend on some “current global configuration,” but to turn the policy into a snapshot and let it travel together with this request. That way, session queuing, message persistence, execution forwarding, and provider adaptation will not lose the policy along the way. One successful run is not a system. Sustained success is a system.
The core structure can be simplified into this:
public sealed record ProviderErrorAutoRetrySnapshot{    public const string DefaultStrategy = "default";
    public bool Enabled { get; init; }
    public string Strategy { get; init; } = DefaultStrategy;
    public static ProviderErrorAutoRetrySnapshot Normalize(bool? enabled, string? strategy)    {        return new ProviderErrorAutoRetrySnapshot        {            Enabled = enabled ?? true,            Strategy = string.IsNullOrWhiteSpace(strategy)                ? DefaultStrategy                : strategy.Trim()        };    }}
Then on the execution side, it is mapped into the settings object actually consumed by the provider. The value of this approach is very direct:
- The business layer decides whether retry should be allowed
- The runtime decides how retry should be performed
Each side manages its own concern without colliding with the other. Many problems are not impossible to solve. Their cost simply has not been made explicit. Turning the policy into a snapshot is essentially a way of accounting for that cost in advance.
Layer 3: Providers only decide terminal state and context viability
Section titled “Layer 3: Providers only decide terminal state and context viability”Once we reach the concrete Claude Code or Codex provider, the responsibility here actually becomes very thin. You can think of it as enhancement, not replacement.
Taking Codex as an example, when it hooks into the shared coordinator, it really only needs to provide three things:
await foreach (var message in ProviderErrorAutoRetryCoordinator.ExecuteAsync( prompt, options.ProviderErrorAutoRetry, retryPrompt => ExecuteCodexAttemptAsync(...), () => !string.IsNullOrWhiteSpace(resolvedThreadId), DelayAsync, IsRetryableTerminalFailure, cancellationToken)){ yield return message;}You will notice that the provider-specific decisions are really only these two:
IsRetryableTerminalFailurecanRetryInSameContext
Codex checks whether the thread can still continue, while Claude Code checks whether the continuation target still exists. Backoff policy, retry count, and follow-up prompts should not be reinvented by every provider separately.
Once this layer is separated out, the cost of integrating more CLIs into HagiCode drops a lot. You do not have to duplicate an entire retry state machine. You only need to plug in the boundary conditions of that provider. Writing quickly is not the same as writing robustly. Being able to connect something is not the same as connecting it well. Getting it to run is also not the same as making it maintainable over time.
An Easy Mistake to Make: Do Not Treat Every Error as Retryable
Section titled “An Easy Mistake to Make: Do Not Treat Every Error as Retryable”In this analysis, the point I most want to single out is not “how to implement retry,” but “how to avoid the wrong retries.”
The original entry point into the problem was that Codex failed to recognize one reconnect message. By intuition, many people would pick the smallest possible fix: add one more string prefix to the whitelist. That idea is not exactly wrong, but it feels more like a demo-stage solution than a long-term maintainable one.
From the current HagiCode implementation, the system has already taken a step in a more robust direction. It no longer stares only at one literal string. Instead, it hands recoverable terminal states over to the shared coordinator uniformly. The benefits are obvious:
- It is less likely to fail completely because of a small wording change in one message
- Test coverage can be built around the terminal-state envelope rather than a single hard-coded text line
- Retry logic becomes more consistent within the same provider
Of course, there needs to be a firm boundary here: being more general does not mean being more permissive. If the current context cannot continue, then even if the error looks like a temporary failure, it should not be replayed blindly.
This point is critical. What really makes people trust a system is not that it occasionally works, but that it is reliable most of the time. If a flow can only be maintained by experts, then it is still a long way from real adoption.
The Three Most Valuable Lessons to Keep in Practice
Section titled “The Three Most Valuable Lessons to Keep in Practice”At this point, it makes sense to start bringing the discussion back down to implementation practice. If you are planning to build a similar capability in your own project, these are the three rules I most strongly recommend protecting first.
1. The retry budget must have boundaries
Section titled “1. The retry budget must have boundaries”HagiCode’s current default backoff rhythm is:
- 10 seconds
- 20 seconds
- 60 seconds
This rhythm may not fit every system, but the existence of boundaries must remain. Otherwise, automatic retry quickly stops being a recovery mechanism and turns into an incident amplifier. Do not rush to give it an impressive name. First make sure the thing can survive two iterations inside a real team.
2. The continuation prompt should be unified
Section titled “2. The continuation prompt should be unified”The project uses a fixed continuation prompt so that later attempts clearly follow the path of continuing the current context rather than starting a brand-new complete request. This capability is not flashy, but when you build a real project, you cannot do without it. Many things that look like magic are, once broken apart, just a polished engineering process.
3. Both the shared library and the adapter layer need mirrored tests
Section titled “3. Both the shared library and the adapter layer need mirrored tests”I especially want to say a little more about this point. Many teams will write one layer of tests in the shared runtime and think that is probably enough. It is not.
The reason I feel relatively confident about HagiCode’s implementation is that both layers have test coverage:
- The shared provider tests whether automatic continuation really happened
- The adapter layer tests whether final errors and streaming messages were preserved correctly
This time I also reran two related test groups, and all 31 test cases passed in both of them. That result alone does not prove the design is perfect, but it proves at least one thing: the current automatic retry is not a paper design. It is a capability constrained by both code and tests. Talk is cheap. Show me the code. It fits perfectly here.
Summary
Section titled “Summary”If the entire article had to be compressed into one sentence, it would be this:
For Agent CLIs such as Claude Code and Codex, automatic retry should not be implemented as a local trick hidden inside one provider. It should be built as a combination of a shared coordinator, policy snapshot, context viability checks, and mirrored tests.
The benefits of doing it this way are very practical:
- The logic is written once and reused across multiple providers
- Whether a request is allowed to retry can travel stably with the execution chain
- Continue running when context exists, and stop in time when it does not
- What the frontend ultimately sees is a stable completed state or failed state, not a pile of abandoned intermediate noise
This solution was polished little by little while HagiCode was integrating multiple Agent CLIs in real scenarios. Who says AI-assisted programming is not the new era of pair programming? Models help you get started, complete code, and branch out, but what often determines the upper bound of the experience is still context, process, and constraints.
If this article was helpful to you, you are also welcome to look at HagiCode’s public entry points:
- GitHub: github.com/HagiCode-org/site
- Official website: hagicode.com
- 30-minute hands-on demo: www.bilibili.com/video/BV1pirZBuEzq/
- Desktop installation entry: hagicode.com/desktop/
- Steam: Steam store page (add to wishlist / view details)
HagiCode is already on Steam now. This is not vaporware, and I have put the link right here. If you use Steam, go ahead and add it to your wishlist. Clicking in to take a look yourself is more direct than hearing me say ten more lines about it here.
That is enough on this topic for now. We will keep meeting inside real projects.
References
Section titled “References”- HagiCode project homepage: https://hagicode.com
- HagiCode GitHub repository: https://github.com/HagiCode-org/site
- Official demo video: https://www.bilibili.com/video/BV1pirZBuEzq/
- Desktop installation instructions: https://hagicode.com/desktop/
Copyright Notice
Section titled “Copyright Notice”Thank you for reading. If you found this article useful, you are welcome to like, bookmark, and share it. This content was created with AI-assisted collaboration, and the final content was reviewed and confirmed by the author.
- Author: newbe36524
- Original article: https://docs.hagicode.com/blog/2026-02-11-agent-cli-automatic-retry/
- Copyright notice: Unless otherwise stated, all articles on this blog are licensed under BY-NC-SA. Please indicate the source when reposting.